


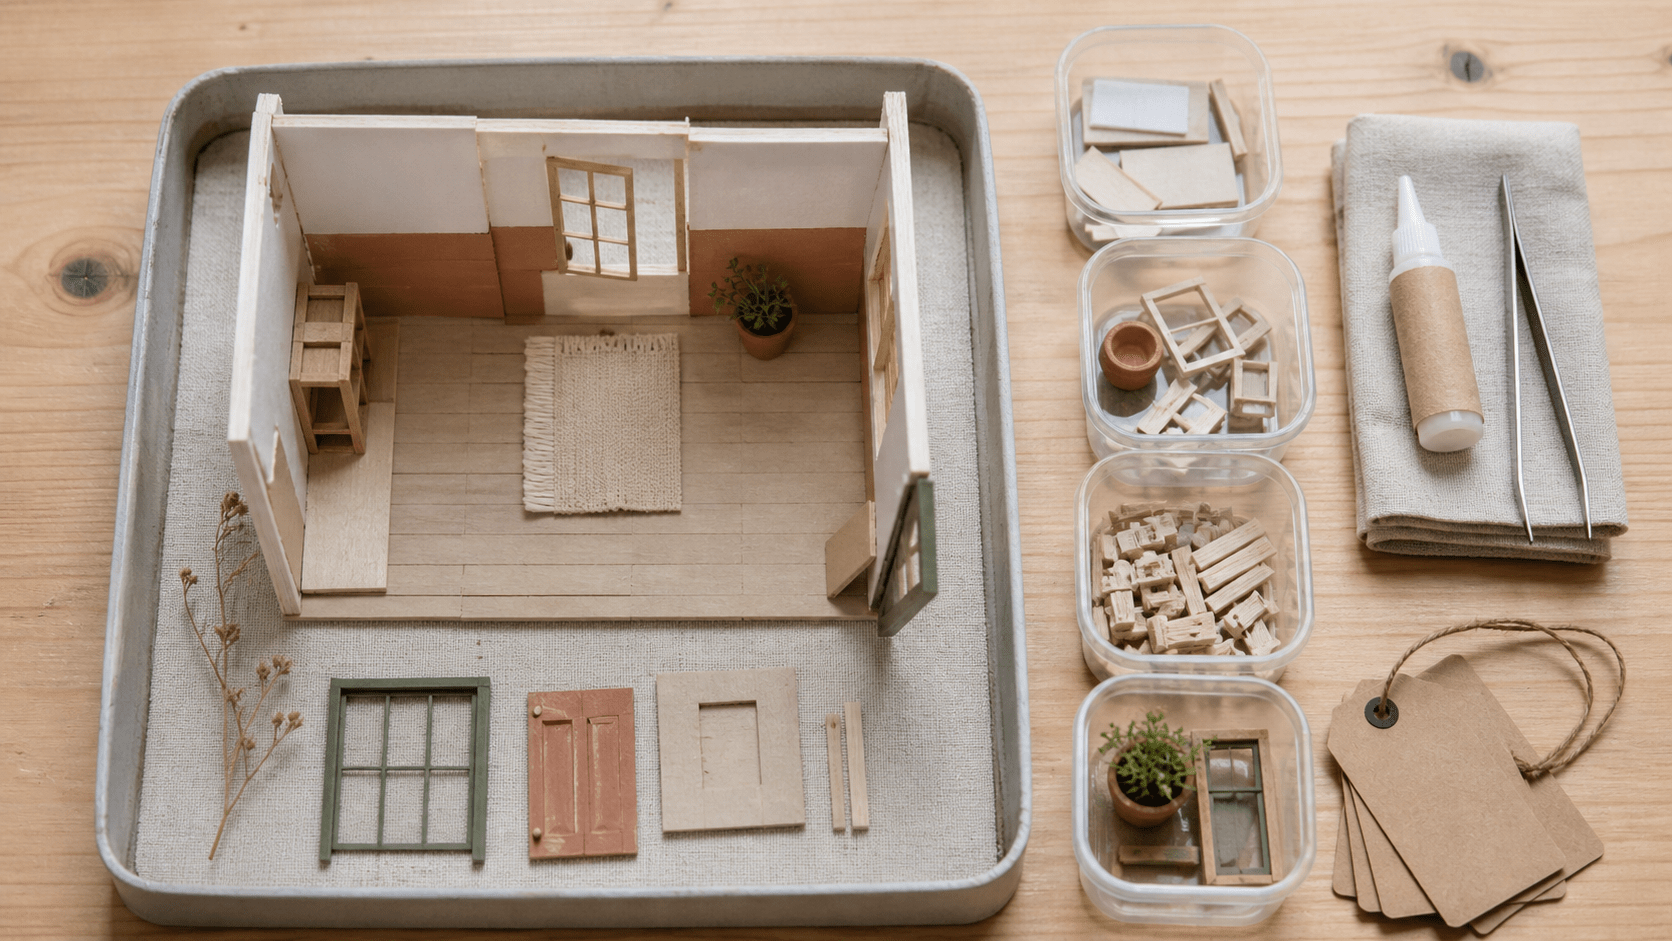
How to Store an Unfinished Miniature Kit Between Sessions
A five-minute closing ritual that protects delicate work and makes tomorrow's first step obvious.
Most miniature builds are not completed in one sitting. The awkward part comes between sessions: a half-finished wall is drying, tiny parts have been sorted, three nearly identical trims are waiting for their turn, and the dining table needs to become a dining table again.
Putting everything into one box is quick, but it creates tomorrow's problem. Delicate pieces rub against tools, numbered parts lose their order, and you spend the first twenty minutes of the next session trying to remember where you stopped. A better pause routine takes only a few extra minutes and protects both the model and your momentum.
Think of storage as part of the build
A good work-in-progress system does four things: it keeps the structure from being crushed, prevents loose pieces from migrating, preserves the order of upcoming steps, and leaves a clear note for your future self. You do not need a dedicated studio. A tray, a few small containers, and a shelf or lidded box are enough.
The key is to separate the build into three categories before you pack it away:
- The structure: assembled walls, floors, furniture, and anything drying.
- The next-step parts: pieces already identified for the next section of the instructions.
- The reserve: untouched sheets, hardware, decor, lighting components, and spare material.
When those groups remain distinct, reopening the project feels like resuming rather than restarting.
Choose a stable base before you begin
The easiest storage system starts at the first session. Build on a rigid tray, shallow box lid, cutting mat, or smooth board that is slightly larger than the model's footprint. At the end of the session, the whole working area can move without lifting the fragile structure itself.
Make sure the base is flat and does not flex when carried. Line it with a clean sheet of paper if the surface is rough or strongly colored. Avoid fluffy towels beneath the model; fibers catch on fine wood, paper edges, and wires. If you use a cutting mat, keep wet glue away from its printed grid and clean it before placing painted pieces on it.
Keep the instruction booklet with the project, but not loose beneath the model where it can shift the base. A document sleeve or large envelope protects it from adhesive and keeps any spare paper patterns flat. If you use a digital manual, save the current page as a bookmark rather than relying on an open browser tab.
Pause at a natural stopping point
Whenever possible, stop at the end of an instruction stage rather than in the middle of one. Finish placing a run of trim, complete one small piece of furniture, or sort the components for the next page. Natural stopping points reduce the number of loose decisions you need to preserve.
If an adhesive or painted part is still drying, do not seal it immediately into an airtight container. Leave it undisturbed in a clean, dust-protected area for the drying time specified by the material's instructions. A loose cover placed high enough not to touch the work can help keep dust away while allowing air to circulate.
Use small containers with specific jobs
Tiny zip bags, lidded bead boxes, clean food containers, and shallow sorting trays all work. The container matters less than the label. Write the instruction step and a plain description, such as “Step 18 — window trim” or “upstairs desk — painted, not glued.” A useful label tells you what a part is and what still needs to happen.
Keep look-alike pieces apart
Do not combine similar wooden strips or paper cutouts simply because they fit in the same compartment. Parts that look identical at a glance may differ slightly in length, print direction, or hole placement. Keep them with their original numbered sheet or step group until the instructions call for them.
Give very small pieces a high-contrast background
Place translucent, metallic, or pale pieces on a dark card; place dark parts on white paper. The contrast makes them easier to count and much harder to overlook. Fold the card once or place it inside a shallow bag so the pieces cannot slide out when moved.
Protect the structure without wrapping it tightly
A partially assembled miniature needs space around it. Tight plastic wrap can snag railings, lift paper edges, bend plants, or press walls out of square. Instead, place the rigid work base inside a larger lidded box with clearance on every side. Use small blocks of clean foam or folded card around the base—not against the model—to stop the tray from sliding.
If the piece is too tall for a box, a clean plastic storage tub turned over the tray can act as a dust cover. Make sure the rim rests on the tray and cannot contact the model. Store the covered build on a level shelf away from the edge, direct sun, moisture, pets, and strong heat.
Handle lighting parts as their own system
Keep loose wires, LED assemblies, switches, and battery boxes together in a labeled bag or compartment. Do not sharply fold wires or place heavy tools on them. If lighting has already been installed, make sure the switch is off before storage and route the wire so it is not pinched beneath the model.
Follow the kit's instructions for its exact power source. If a battery-powered model will sit unused for an extended period, check the battery manufacturer's storage guidance; many manufacturers recommend removing batteries from devices during long periods of non-use. Keep all small batteries and electrical pieces out of reach of children and pets.
Leave a restart note that takes ten seconds to read
A restart note is the most valuable item in the box. It can be a sticky note, an index card, or a photo saved in a dedicated album. Record four things:
- the last instruction step completed;
- the next step to begin;
- anything currently drying or curing;
- one issue to remember, such as a piece that still needs paint or a wire that must remain accessible.
Take one overhead photo before packing. It captures the orientation of loose subassemblies and the position of wires better than a long paragraph. Photograph any custom color mix or improvised placement as well.
Pack tools separately from the miniature
Knives, tweezers, rulers, clips, glue bottles, and paint jars should not travel in the same open tray as the model. A tool can roll once and undo hours of delicate work. Wipe tools clean, cap liquids, retract or cover blades, and place everything in a separate pouch or compartment.
Store adhesives and paints according to their own labels. Keep them upright when required and never assume a miniature-kit box is suitable for a leaking bottle. A small secondary container protects the project and the furniture beneath it.
The best storage system does not merely protect the build. It preserves the desire to continue.
The five-minute closing routine
Use the same order at the end of every session:
- Stop at a clear instruction point.
- Move loose pieces into labeled step groups.
- Switch off and protect lighting components.
- Photograph the work and write the restart note.
- Move the rigid base into its dust-safe storage place.
- Clean and pack tools separately.
This routine is deliberately simple. Its purpose is not to create a perfect craft-storage system; it is to make the next session inviting. When the model is safe, the next parts are ready, and the note tells you exactly where to begin, a long project keeps its rhythm—even when life needs the table back.
Choose a miniature world worth returning to
Explore detailed DIY miniature houses designed for slow, satisfying sessions and a finished piece with lasting presence.
Explore Miniature Houses →
Partager:
How to Create a Reading Nook in a Small Space
How to Fix Book Nook Lights: A Safe Troubleshooting Guide