


How to Fix Book Nook Lights: A Safe Troubleshooting Guide
A calm, safety-first path from power source to LED—one reversible check at a time.
The final wall is in place, the shelves are dressed, and the tiny room looks ready to glow—except it does not. Lighting problems can feel especially discouraging at the end of a detailed build, but many are caused by a short list of ordinary issues: power, polarity, an incomplete connection, a pinched wire, or a switch that is not making contact.
The safest way to troubleshoot a book nook light is to move from the power source toward the LEDs, changing only one thing at a time. Do not begin by pulling the model apart. A calm sequence protects the finished scene and makes the real fault easier to find.
Before you test anything
Use the instructions supplied with your exact kit. Lighting systems vary: some use replaceable batteries, some use a USB lead, and some include prewired connectors or a small circuit board. Never substitute a different power source, voltage, battery size, or wiring method unless the manufacturer explicitly approves it.
Turn the power off before touching connections or moving wires. Work on a dry, uncluttered surface and remove metal tools from the immediate area until you need them. Stop completely if you notice heat, a burning smell, smoke, a swollen or leaking battery, damaged insulation, or scorched material. Disconnect the power and contact the seller or manufacturer rather than continuing to experiment.
Start with the symptom
The pattern of the failure tells you where to look:
- Nothing lights: begin with the batteries or USB power, then the main switch and primary connector.
- One section is dark: inspect the connector or wire feeding that branch.
- One LED is dark: check that LED's orientation and its two connections.
- The lights flicker when the model moves: suspect a loose connection, strained wire, or switch contact.
- The lights worked before final assembly: look for a wire that became pinched, sharply bent, pulled, or covered by glue.
Write down what happens before changing anything. If you later need support, “the left room flickers when the roof is pressed” is far more useful than “the lights are broken.”
Step 1: Confirm the power source
For battery-powered lights
Check the symbols in the battery holder and confirm that every battery faces the correct direction. Positive and negative orientation matters. Replace depleted batteries as a complete set using the size and type specified in the instructions; do not mix new and used batteries or different types. Make sure the contact surfaces are clean and the battery compartment closes properly.
If there is any sign of leakage, do not handle the residue with bare hands. Keep the device away from children and pets and follow the battery manufacturer's safety and disposal guidance.
For USB-powered lights
Test the USB adapter or port with a known working, low-power device if that is safe and appropriate. Then reseat the book nook's plug without forcing it. Inspect the cable for cuts, crushing, or a connector that sits at an angle. Use only the power specification named by the kit maker.
Step 2: Check the main switch
Small slide and push switches can be easy to leave between positions. Move the switch fully off, then fully on. If the switch is hidden beneath the model, confirm that the base is not pressing it sideways.
If the light responds only when the switch is held or moved, disconnect power. That points to a mechanical or connection problem around the switch, not a reason to tape it permanently in one position. Photograph the part and request a replacement or the manufacturer's repair guidance.
Step 3: Reseat connectors without pulling the wires
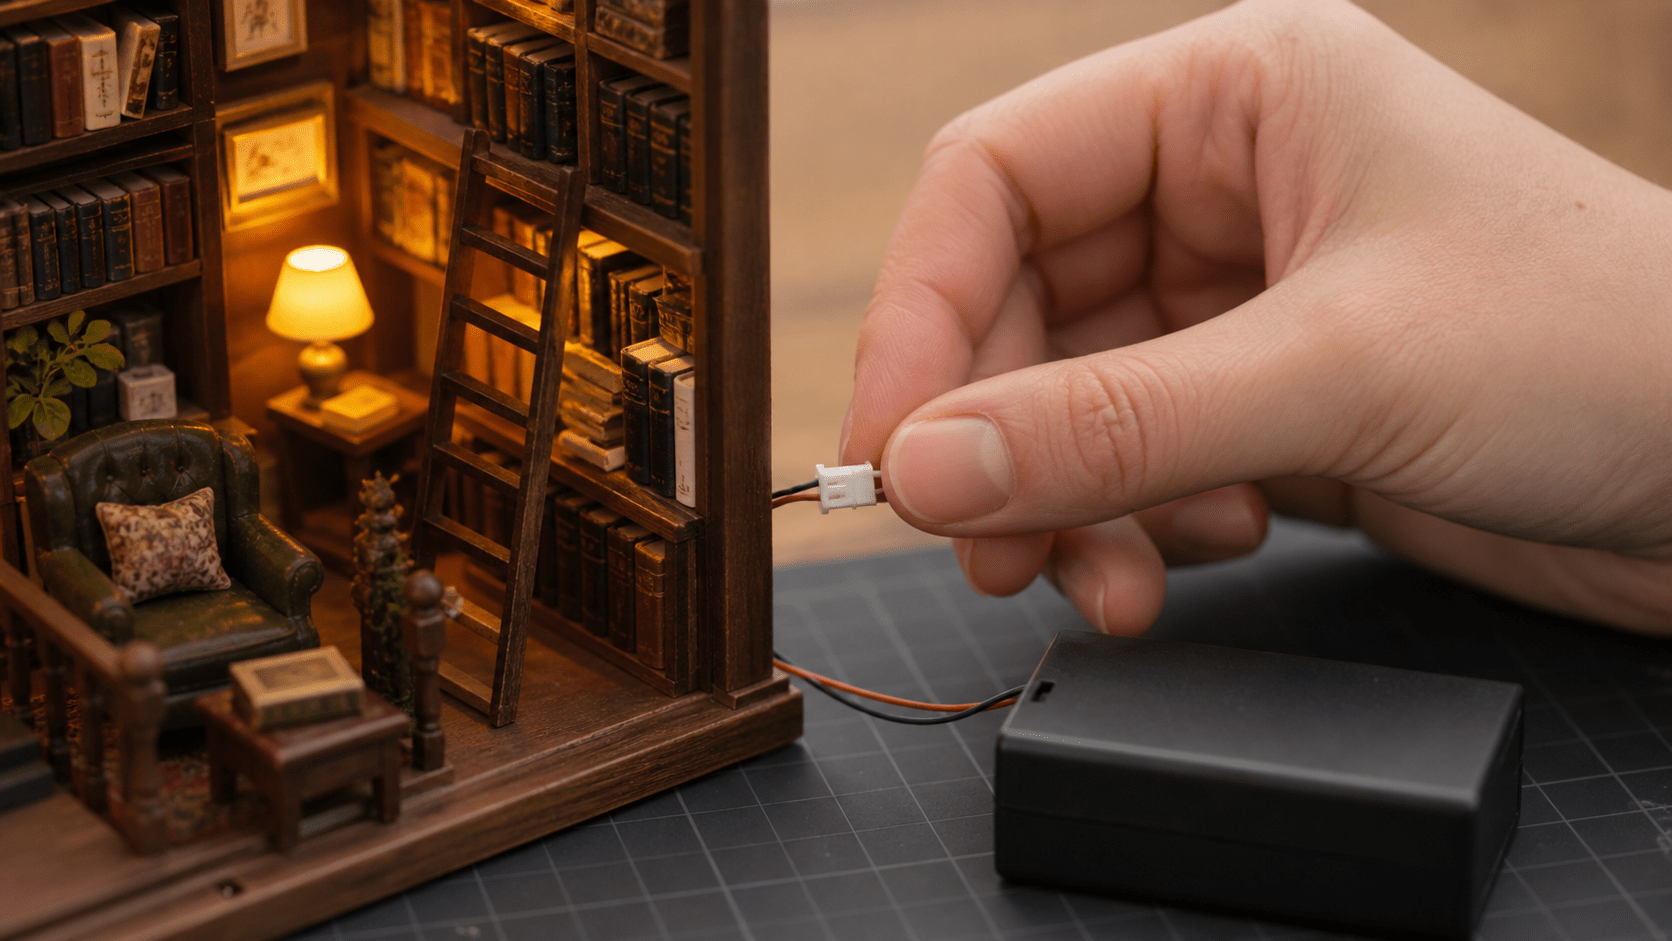
Prewired miniature kits often use very small plugs. Grip the connector body, never the wires, and press it together in the orientation shown in the instructions. A plug that looks connected may not be fully seated. Do not force mismatched connectors or reverse them simply because they fit partway.
Trace the cable with your eyes and fingertips while the power is off. Look for a sharp fold, a crushed section beneath a wall, or tension where the wire enters a connector. Create a gentle curve and leave a little slack. Thin wires can fail internally even when the outer coating looks intact, so visible damage is not the only clue.
Step 4: Verify LED polarity where the kit allows it
An LED is a diode, so current flows through it in one direction. If a loose or user-installed LED is connected backward, it will not light. Educational electronics guidance from SparkFun identifies incorrect polarity as a common cause of an LED failing to illuminate.
Use the polarity markings in your kit instructions rather than relying only on generic LED shapes. Components can be trimmed, enclosed, or surface-mounted, and their markings differ. If the system uses a plug, align the marked positive and negative sides exactly as shown. Do not cut traces, resolder a circuit board, or modify a sealed lighting assembly unless the manufacturer specifically instructs you to do so.
Step 5: Isolate the first point of failure
If the lighting system is modular, test the earliest accessible section first and add later sections one at a time, following the kit's testing procedure. The last section added before the failure usually narrows the search.
For a daisy-chained system, one open connection may leave everything after it dark. For parallel branches, one room can fail while the rest remains lit. You do not need to identify the circuit design by guesswork; simply compare the dark area with the connector layout in the instructions.
Avoid repeatedly powering a visibly damaged system. Short test cycles are for observation, not for “burning through” a fault.
Step 6: Inspect the places assembly can hide
Lighting often works during an early bench test and fails after the roof, back panel, or final floor is installed. Check these common pressure points:
- where a wire passes through a narrow slot;
- beneath a wall or floor panel;
- around hinges, drawers, or removable roofs;
- where tape or glue was added near a connection;
- at the exit from a battery box or USB socket.
Remove only the nearest reversible panel if the instructions support it. Take photographs before moving wires so you can restore their route. If reaching the fault would require breaking finished structure, stop and contact support with the photos and test results.
What not to do
- Do not try a higher-voltage adapter to make dim lights brighter.
- Do not mix battery sizes, chemistries, brands, or ages.
- Do not bridge contacts with foil, loose wire, or metal tools.
- Do not leave exposed conductors touching wood, paper, paint, or each other.
- Do not keep a leaking, swollen, hot, or damaged power source inside the model.
- Do not conceal a questionable connection permanently before retesting the full lighting sequence.
Good troubleshooting changes one thing at a time—and knows exactly when to stop.
Prepare a useful support request
If the sequence does not solve the problem, collect evidence before contacting the seller or maker:
- the kit name and order details;
- a photo of the power source and switch;
- a clear photo of each connector with the power off;
- a short video showing which lights respond;
- the last step at which the lights worked;
- the troubleshooting steps already completed.
This gives support a precise starting point and reduces the chance that you will be asked to dismantle the scene unnecessarily.
Test early on your next build
The best lighting repair is the one you never need. Test the full system before installation, again after each hidden connector is closed inside the structure, and once more before attaching the final panel. Photograph the wire route at each stage. Leave gentle curves rather than tight bends, keep glue away from connectors, and make the switch and power compartment accessible.
When a finished book nook stays dark, begin with power, then switch, connectors, polarity, and wire routing—in that order. Most importantly, stop when the problem moves beyond a simple, reversible check. A miniature scene is worth protecting, and so are the hands building it.
Sources and further reading
Find another world to illuminate
Browse book nooks with layered architecture, warm light and the kind of detail that rewards a closer look.
Explore Book Nooks →


Partager:
How to Store an Unfinished Miniature Kit Between Sessions
How to Organize Tiny Miniature Kit Parts Before You Build