


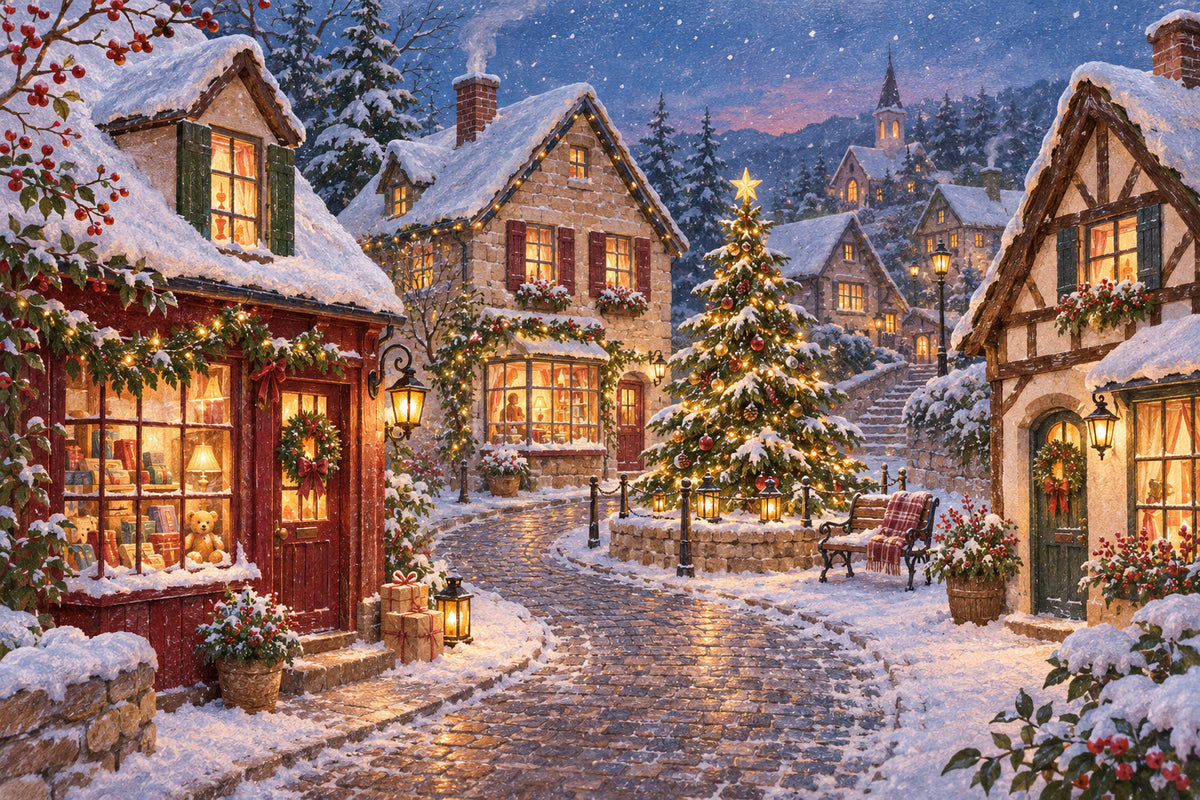
Start a DIY Christmas village with one small scene you can finish and enjoy on its own. Choose how you want to make it, decide where it will live, then plan a building, a route through the scene and one festive detail. You can create a village feeling with a single shop and the suggestion of a street; you do not need a collection of houses before you begin.
The useful first question is what you want to spend your time doing. Cutting and decorating paper houses, assembling a detailed wooden kit and arranging ready-made buildings are different projects. Pick the making experience before filling a shopping basket.
Choose the kind of making you want to do
Paper houses: for freedom over the look
Paper or card is a good route if you want to choose the roof shapes, window sizes and colors yourself. Begin with one simple house pattern and repeat it with small changes. A row of related houses usually feels more convincing than several complicated designs that do not belong together.
The tradeoff is that you are responsible for the pattern, clean folds and a base that stays flat. Try an undecorated mock-up before cutting your favorite card. If the shape does not stand neatly in plain paper, extra paint and trim will not solve the structure.
A wooden miniature kit: for a defined scene to assemble
A kit suits someone who wants to follow a designed project and spend their attention on fitting and arranging its details. Compare the actual assembly tasks, not just the finished photograph: does the kit involve paper details, small furniture, lighting or mechanical parts? Check the instructions and supplies before deciding that it fits your available time.
Choose the format as well as the theme. A book nook frames a small scene in an enclosure that can sit among books. A freestanding miniature house gives you a wider building to arrange on a tabletop or open shelf. Neither format needs extra neighboring houses to feel complete.
For a self-contained holiday shop, Christmas Wonderland is a DIY miniature house kit with opening panels, warm lighting and a gift-filled interior. Its shopfront has a decorated tree, a wreath and a snowman, while Santa stands behind the counter inside. Choose this route if building and arranging one detailed store is the project you want. The pictured shop is a completed build; the product is a kit for assembly. Allow room to open the panels when planning its position.

Ready-made buildings: for arranging rather than assembly
If moving the houses, adding paths and changing the scene is the part you enjoy, ready-made buildings may be a better starting point. You can still make the base, signs or landscaping yourself. Check the buildings' sizes together before buying; a shared holiday theme does not guarantee a shared scale.
Give the first scene a small story
A story helps you decide what to make and what to leave out. Try one of these starting points:
- The last shop before Christmas. One storefront, a short path and a tree suggest a shopping street. A single parcel near the door can carry the idea without filling every corner.
- Coming home through the snow. A cottage and a clear approach to its door make a quiet scene. Put the visual emphasis on the entrance, rather than adding a second house just to fill the base.
- A little market square. Let one tree be the meeting point, with a stall or building behind it. Keep the central area open so it reads as a place people could gather.
These are ideas for a handmade scene, not shopping lists. Use simple paper stand-ins to decide which one interests you before making the detailed version.
Test the footprint before committing to the build
Measure the usable width, depth and height of the intended spot. Include access to switches, battery compartments or power connections specified by your chosen kit. A display can fit the shelf and still be awkward to use.
Cut a piece of scrap card to represent the area you can use. For separate buildings, place paper rectangles matching their assembled footprints on it. Add a strip of paper for the path. For a self-contained book nook, test the whole enclosure's footprint and height; do not treat its internal shops as separate buildings you can move around.
Look at the plan from the place you will normally see it. A deep arrangement may look attractive from above while hiding its back row at seated eye level. Move the footprints until the important doorway, window or tree remains visible. Leave a little open ground at the front instead of extending buildings to every edge.

Compare doorways before adding figures or trees
Two houses do not need identical roof heights, but their everyday details should make sense together. Compare the doorways first. A person who could walk into one shop should not be taller than the next shop's entrance.
If the pieces state a scale, use that as your starting point. At 1:24, a real two-meter doorway becomes about 8.3 centimeters high; at 1:48 it becomes about 4.2 centimeters. A similar-looking accessory can therefore be twice the intended size. Our guide to miniature scales explains how to compare measurements.
When no scale is stated, use the photographed doorway and the assembled dimensions together, or ask for a measurement. For a first scene, leaving out figures is easier than trying to disguise an obvious size mismatch. A tree can vary naturally in height; a bench or person is less forgiving.
Plan the glow before the snow
Decide which window or part of the street should draw the eye after dark. If you are using a kit with lights, test them at the stages given in its instructions before enclosing that area. For a separate light source, choose one intended for the materials and setup you are using, and follow its directions.
Keep controls and power access reachable when placing the base. Then try the scene in the room's usual evening light. More lights are not automatically better: if every edge glows, the shop window you wanted people to notice can disappear into the rest.
Add seasonal surface details last. A removable white card ground or separate paper snow pieces are easy to reposition while planning. Avoid covering track paths, openings or controls with loose material. With a finished kit, keep additions outside the enclosure unless the instructions allow the change; extra scenery is not a reason to obstruct the original design.
Finish one scene before deciding how it grows
For the first version, aim to complete the main structure, arrange the ground and check the view and lighting. Leave expansion until you have lived with that scene for a while. You may discover that it needs a small sign or a better path rather than another building.
If you later add a neighbor, check its scale, footprint and viewing angle before choosing it for its color. Separate kits can share a display base without being physically compatible; do not assume they connect or share a power system.
A simple first plan is enough: one place, one little story, one manageable build. If a detailed freestanding shop appeals to you, look more closely at Christmas Wonderland. If cutting and inventing the houses is what excites you, begin with your paper prototype. Either way, make the first scene something you would be happy to keep on its own.
Teilen:
Gifts for Music Lovers: How to Choose Something Personal
Gifts for Mystery Lovers: Puzzles to Solve, Worlds to Build