


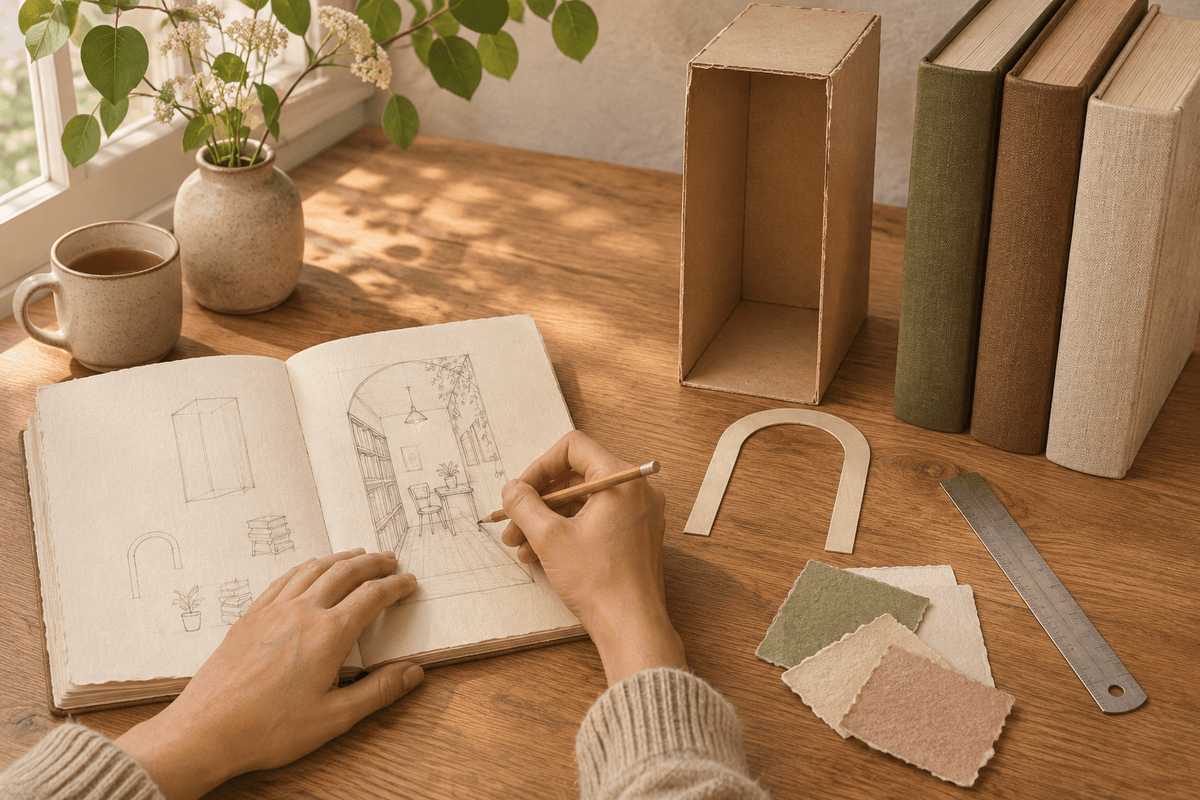
Choose a book nook kit if you want to assemble a scene whose structure and layout are already designed. Build from scratch if choosing the dimensions, making the structure and finding the right materials are part of the project you want. If you like both ideas, a kit with one small personal detail can be a useful middle route.
A book nook is a miniature scene displayed among books. Buying a kit still means making something; starting from scratch can still involve buying miniature accessories. The real question is which decisions you want to make yourself—and which work you would happily leave to an existing design.
Kit vs. scratch build: what are you taking on?
Picture the work between opening your supplies and placing the finished scene on a shelf. With a kit, you follow its construction sequence and work within its design. From scratch, you also decide how the scene will stand up, how its parts will fit and when each detail needs to go in.
| Decision | Book nook kit | Build from scratch |
|---|---|---|
| Shape and fit | Choose a design with suitable finished dimensions. | Design an outer frame for your available space. |
| Scene and details | Start with the supplied setting and layout. | Choose the setting, viewpoint and individual details. |
| Materials | Check the listed contents and anything supplied separately. | Source compatible materials and check their sizes. |
| Lighting | Follow that model’s instructions and power requirements. | Plan light placement, wiring space and access before closing the structure. |
| When something does not fit | Check the part, orientation and assembly step against the manual. | Check both the design and the way you made the part. |
Neither route guarantees an easy or quick build. A detailed kit can involve delicate work; a simple handmade scene can use only a few large pieces. Look at the tasks you would enjoy repeating, not just the finished photograph.
Choose the scene before choosing the route
Write down one setting and one detail that matters most. “A Japanese-inspired room with a tiny tea table” leaves room to choose an existing design. “The exact front window of my childhood bookshop” may call for custom dimensions, lettering and furnishings. That difference is more useful than deciding that one method is more creative.
For example, Moss-Lantern Garden is a wooden DIY kit with a dark-framed house, pale lattice doors, a small furnished room and a garden entrance. If that is the scene you want, the kit gives you a defined composition to assemble. You can concentrate on bringing its pieces together instead of designing a house around separately sourced doors and furniture.

If the feature you care about would require removing a wall, changing the proportions or moving the whole entrance, pause before buying that kit as a base. Sketch your preferred version first. The amount of redesign may make a scratch build a better match for your idea.
Compare the full project cost
Compare two scenes of similar size and ambition. A plain paper room and a furnished, illuminated miniature do not need the same materials, so their starting prices tell you little on their own.
Make three columns: already owned, need to buy, and need to confirm. For each route, work through the following:
- Structure and surfaces: the kit or frame materials, floor and wall finishes, and any materials needed to correct a first attempt.
- Details: miniature furniture, printed paper, plants or other pieces needed for your particular scene.
- Assembly supplies: the appropriate adhesive and tools listed in the instructions or required by your chosen materials. Count what you already have before buying more.
- Lighting and delivery: any separately required lighting or power supplies, plus the cost of ordering materials from several places.
Keep unknown items in the “confirm” column until you have checked them. Our book nook kit contents checklist can help you read a listing without assuming everything in a styled photo is included.
Record design and sourcing time separately from assembly time. If comparing paper finishes and making small furniture sounds enjoyable, those hours may be part of the reason to build from scratch. If you want to spend your available evenings assembling, an existing design may suit you better. There is no reliable rule that either route always costs less.
Can a beginner build a book nook from scratch?
Yes—if the first design leaves room to learn. Start with a simple room or shallow scene and one focal detail. You do not need to begin with a full street, moving doors and a complex lighting effect.
Before buying decorative pieces, make a plain paper or card mock-up of the space. Check three things:
- Does the outer shape fit? Test it in the intended shelf gap, including the depth. Leave enough access to lift the finished piece out.
- Do the details fit together? Place rough paper shapes where a door, chair or table would go. Compare actual dimensions as well as scale labels; a tiny chair can still overwhelm a narrow scene. Our miniature scale guide explains how to compare sizes.
- Can you reach what needs finishing? Work out which surfaces must be covered before furniture or walls block them. If you want lighting, plan space for a suitable lighting set and access to its switch or power source before closing the back. Follow its manufacturer’s instructions.

Keep this trial undecorated until the layout works. Moving a paper doorway costs little; discovering that a finished table blocks the entrance is a much more awkward moment to rethink the room. The mock-up is a planning tool, so its edges do not need to look finished.
The middle route: make one detail your own
You can enjoy a supplied design and still add a personal touch. Choose one small, removable detail that suits the scene: a paper artwork, a miniature book cover or a freestanding sign, for example. Make it separately and test its position before fixing anything in place.
Read the assembly instructions first. A surface that looks decorative may hide a joint, moving part or wire route. Keep the structure and lighting unchanged while you learn how the kit goes together, and avoid covering access points. Customization possibilities depend on the design; a new detail should fit the space rather than force the surrounding pieces out of place.
This route is useful when you like a kit’s architecture but want one personal reference inside it. It is less useful when you want a completely different size or layout. In that case, drawing your own frame may give you a clearer starting point.
Choose the next step you would enjoy doing
- Choose a kit: find a setting you would like to keep, then check its finished dimensions, contents and assembly information before ordering.
- Choose a scratch build: draw your available space, make a plain mock-up and price the materials for one focal feature before expanding the scene.
- Choose a small customization: confirm that you like the original structure, then plan one separate detail that will not obstruct its fit or functions.
You can change methods on the next project. For this one, choose the route whose unfinished stages appeal to you as much as the finished miniature.


Partager:
DIY Kits for Couples: Choose a Gift You Can Make Together