


A Little Haunting: Halloween Decor in Miniature
A little house, a warm window, a hint of something strange. A thoughtful Halloween scene for a shelf or side table.
A crooked roof. Two pumpkins by a door. One window glowing after the room has gone quiet. Sometimes that is all the Halloween a home needs.
If you love October but do not want your living room to become a haunted attraction, start smaller. A miniature Halloween display gives the season a place of its own: a little scene on a side table, a strange doorway between books, or a cottage that seems to have stayed open long after everyone else went home.
The trick is not to shrink every decoration you own. It is to choose one setting, give it a believable story, and leave enough space to notice the details. Here is how to make a small Halloween scene feel considered—and easy to live with after October.
First, decide what happened here
Before choosing pumpkins or paper bats, finish this sentence: This is the place where…
A candy shop serves its last visitor. A witch has stepped out of her cottage. A manor keeps one light on for a guest who never arrives. You do not need to write the whole story. One sentence is enough to help you decide what belongs in the scene.
For a candy shop, a bright doorway and a cluster of pumpkins might do most of the work. For a gothic house, dark book spines and one pale paper moon may be enough. For a woodland cottage, choose muted green and weathered brown, with a single orange accent.
When you are tempted to add another decoration, ask whether it tells you something new about the place. If it only repeats “Halloween,” try leaving it out.
Give the scene a boundary
A small display becomes easier to arrange when it has a clear edge. Use a shallow tray on a side table, a stable board on a console, or a dedicated space between books. Start with the finished miniature’s actual footprint—not the box it came in—and leave access to any switch, cable or removable cover.
On a tray, place the building slightly behind the midpoint. That leaves a small foreground for a path or a pair of pumpkins, while keeping the back of the scene available for a freestanding paper silhouette. Keep every part of the miniature fully supported; do not let the base overhang.
For a book nook, treat the neighboring books as the backdrop. You may not need extra scenery at all. Move one visually busy object elsewhere, then look at the shelf from your usual seat. Can you still see the doorway or the feature you chose as the focal point?
If you are deciding between a shelf insert and a freestanding scene, our guide to book nooks, dollhouses and dioramas explains how the formats differ.
Let the little house be the story.
Let everything around it be the setting.
Build three layers, not a pile of props
Think in terms of a foreground, a main scene and a backdrop. Each layer has a different job.
The foreground invites you in
Keep this low: a short paper path, one little pumpkin, or two leaves cut from card. Tall decorations placed at the front can hide the details you spent time building. Leave a visible route to the door, even if that route exists only in your imagination.
The miniature holds your attention
Choose one building or book nook as the centerpiece. If it already contains ghosts, signs, plants or a busy shop interior, repeat just one of those colors outside it. A detailed model rarely needs an equally detailed surround.
The backdrop sets the mood
A folded sheet of matte card can make a simple freestanding background on a tabletop. Cut a gently uneven roofline or a few bare branches into a separate piece of card, and attach those decorations to the backdrop—not to the miniature. Keep the background clear of lighting components and do not enclose the model or cover access points.
Look again from across the room. If the backdrop attracts attention before the miniature, simplify it or lower it. The scene should read clearly before anyone leans in.
Keep the seasonal details removable
The easiest Halloween refresh happens around a finished miniature, rather than on it. Put pumpkins on the tray. Attach paper bats to your separate card backdrop. Lay a paper path in front of the building instead of gluing it to the base.
Avoid adhesive directly on printed walls, painted finishes or delicate trim. Even tape marketed as removable can lift a surface. Loose glitter and artificial cobweb fibers are also awkward companions for tiny furniture and wiring: they can settle into places that are difficult to reach.
Want one small handmade addition? Fold a strip of dark card into an L-shaped stand, then attach a paper moon or bat to its upright section. Place the stand behind the model with its foot resting on the tray. Keep it short and stable, and remove it if it leans against the build. The seasonal part can now lift out as a separate piece.
Let the light come from somewhere
A glowing window gives your eye a reason to travel into the scene. If your kit has lighting, use it as instructed and arrange the display so the light remains visible. You do not need to darken the entire room; a nearby lamp can provide enough ambient light to show the roof, the doorway and the tiny objects around them.
If your miniature is unlit, try a separate shaded lamp aimed toward the display from the side. Adjust the lamp, not the model’s wiring. Check the view at seated eye level: if a bright reflection is all you see, change the angle.
Keep real candles and other heat sources away from paper, wood and fabric. Keep electrical components accessible and uncovered, follow the lighting manufacturer’s instructions, and place small decorations out of reach of children and pets.
Three different kinds of little haunting
You can use a miniature you already own. If you are choosing a new project, decide which mood you would enjoy looking at beyond Halloween.
Playful and full of mischief. Haunted Candy House is a miniature candy-shop scene with pumpkins, ghosts and tiny treats. Our styling suggestion: give it a quiet backdrop and let the shop’s own details provide the Halloween character.
Gothic and bookish. Dark Family brings a haunted-manor setting to a book nook. Our styling suggestion: place it beside a small selection of darker book spines and keep added decorations low, so the view into the manor stays open.
Woodland and witchy. Magic Forest Spirit centers on a miniature witch’s house. Our styling suggestion: echo its fantasy setting with a muted green background and a restrained pumpkin accent, rather than filling the surrounding space with props.
These are DIY projects, not finished decorations. Check each current product page for dimensions, contents and assembly requirements before choosing. The styling props described here are separate ideas, not a list of items included with a kit.
Leave yourself a November version
Before you finish, imagine taking the pumpkins and bats away. Does the miniature still have somewhere comfortable to live? If it does, you have made a seasonal display without giving yourself a complete redecorating job next month.
Take one photograph of the arrangement. Store the paper pieces flat and the small props together in a labeled container. Leave the miniature in place if it suits the room, or move it by supporting its base—not by lifting a roof, balcony or chimney. For everyday care, see our guide to displaying and protecting a finished book nook.
Halloween does not have to fill the house to feel like an occasion. Sometimes a little light in a tiny window is enough to make you stop on your way past—and wonder who is still awake inside.
A candy shop with a mischievous side
Meet Haunted Candy House: a miniature Halloween scene filled with pumpkins, ghosts and tiny treats.
Explore Haunted Candy House →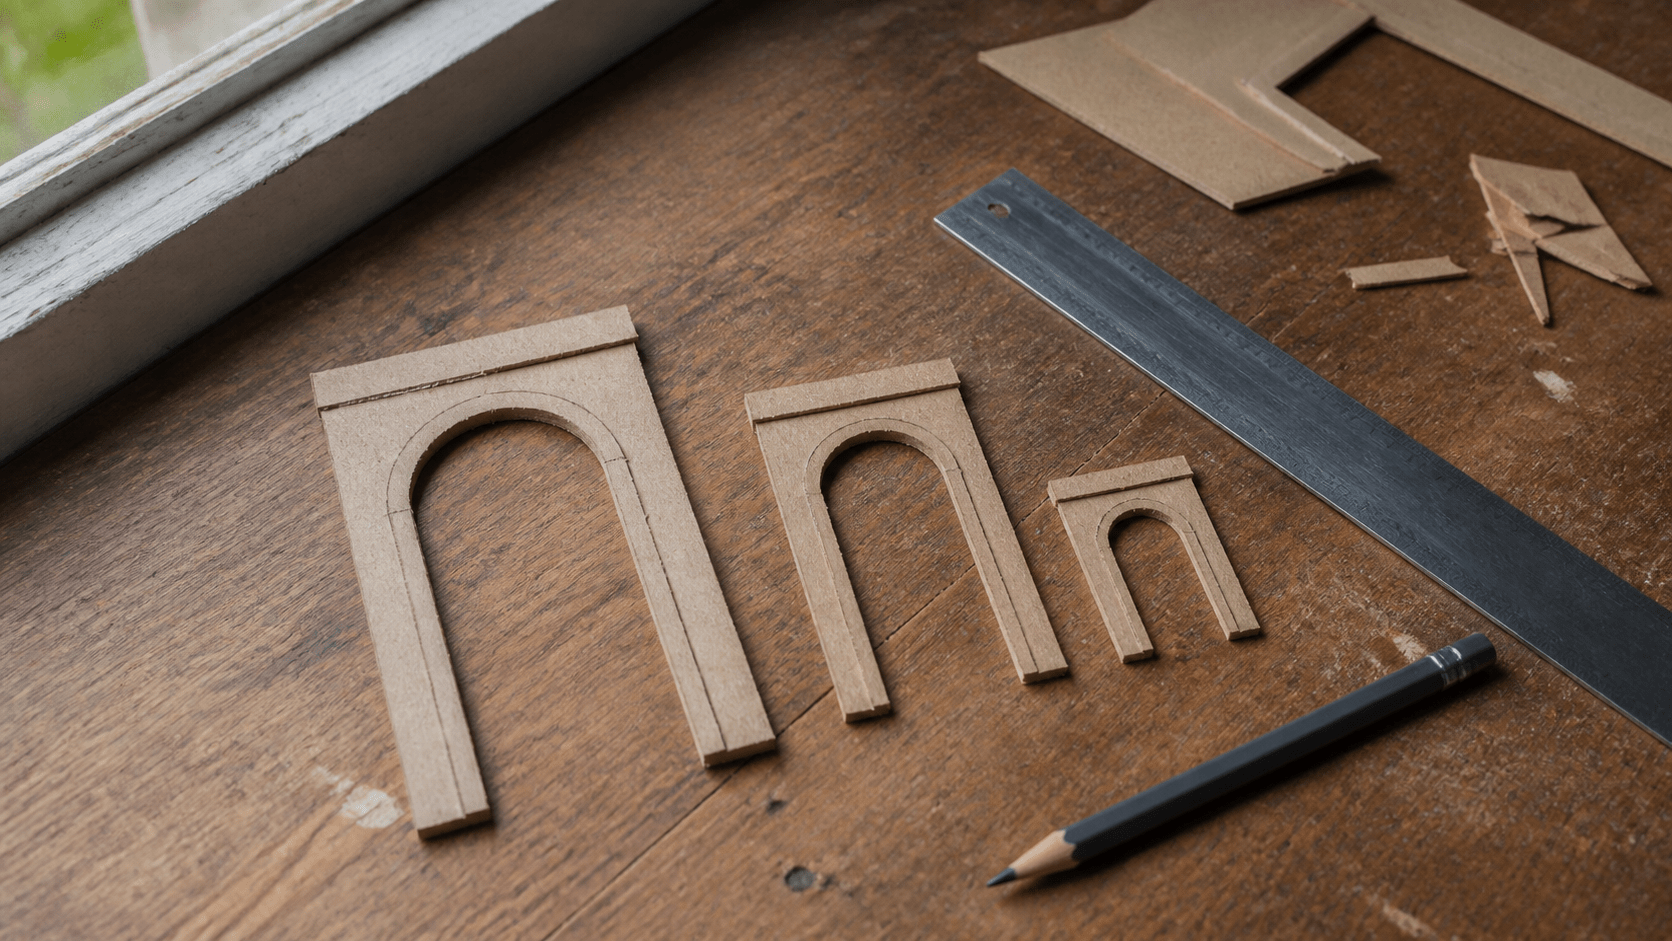
Share:
Understanding Miniature Scales: A Practical Guide to 1:12, 1:24, and 1:48